Focus and Tailstock Alignment
When working between focuses, it is significant that the focuses run valid and that tailstock is appropriately lined up with the headstock. A middle can be reviewed after establishment by setting a test marker on its workholding surface and pivoting the middle to check for runout. Any measure of runout appeared on the marker will appear as skewed surfaces on machined parts. A headstock place might have the option to be machined by turning or pounding so it will run valid.
The tailstock can be deliberately balanced for machining tightens, which will be shown in custom precision cnc machining plastic parts china, “Tighten Turning.” Tailstock arrangement for creating straight measurements can be refined by a couple of various strategies. Rough tailstock arrangement can be performed by bringing the purposes of the tailstock and headstock focuses close to one another and outwardly investigating arrangement. Be mindful so as not to knock the focuses together and harm or disfigure their focuses. Most tailstocks likewise have observer lines on the body underneath the hand wheel that demonstrate the adjusted position. A screw on each side of the tailstock is utilized to change its position. Exact arrangement should be possible by following these means.
- Mount a test bar between the focuses. A test bar is an accuracy straight round and hollow bar with concentric focus openings in each end.
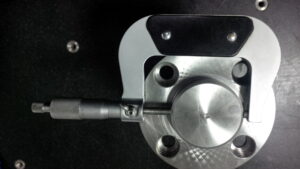
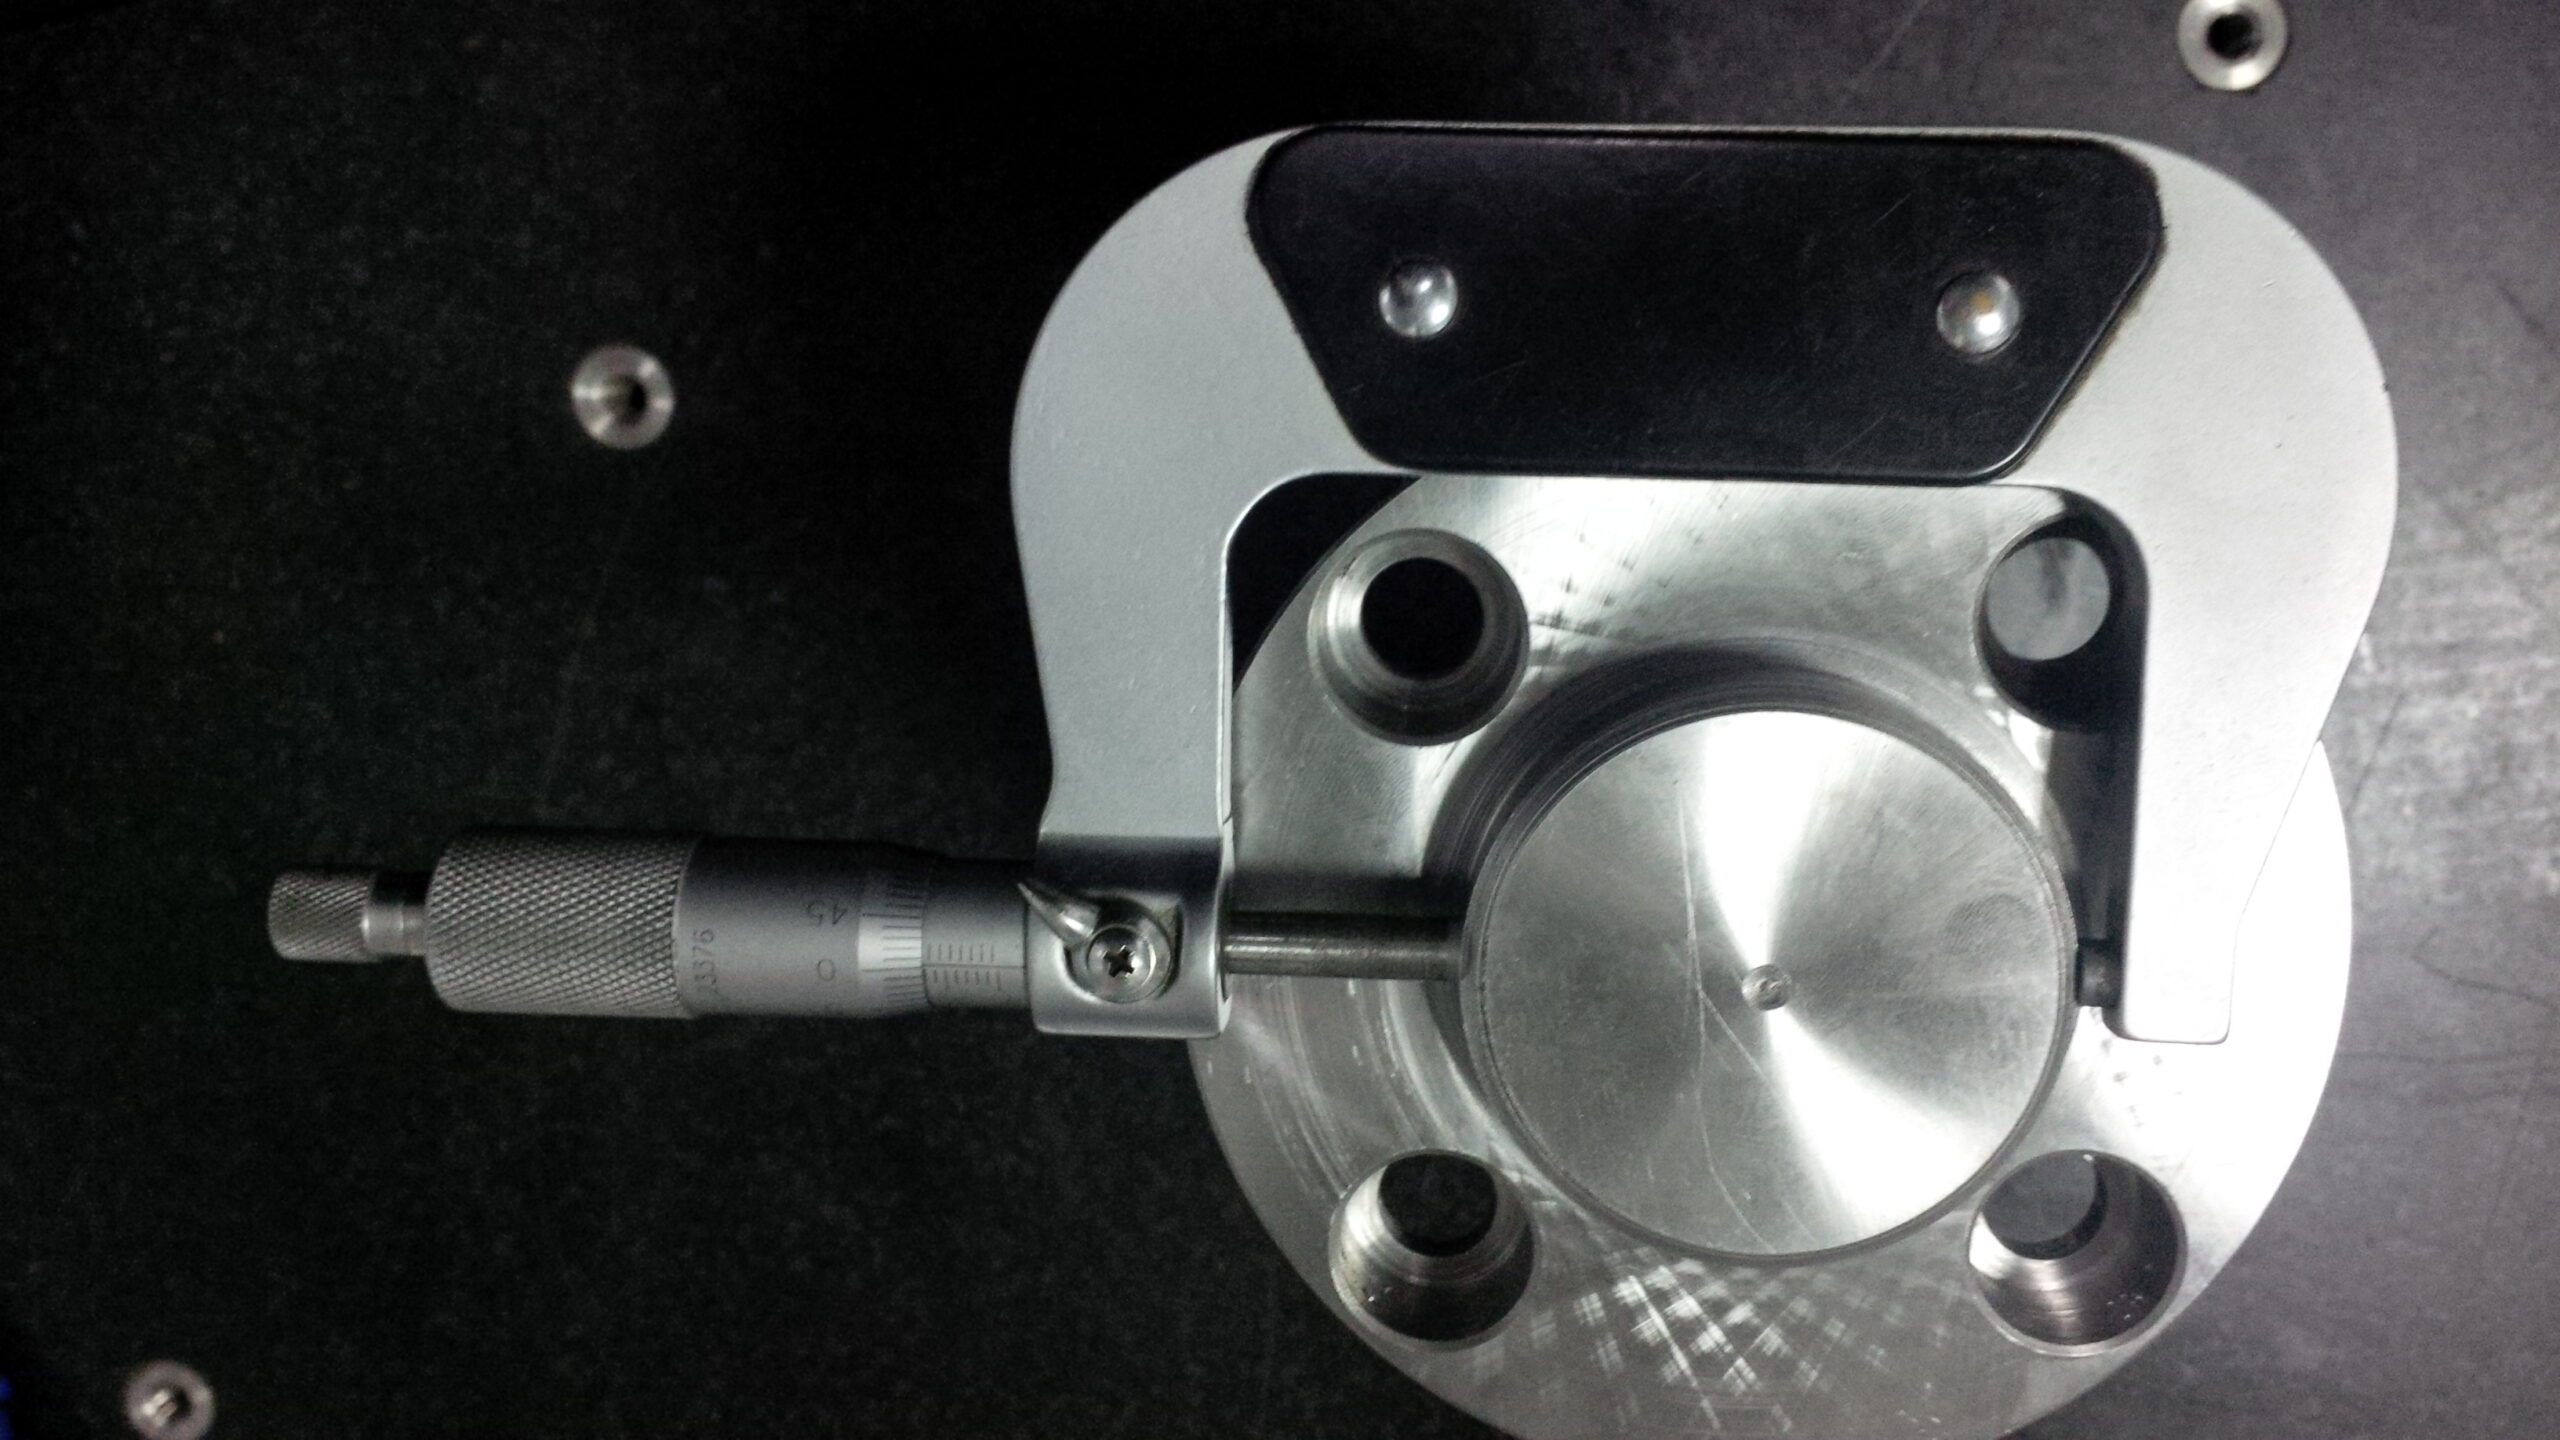
- Mount a dial pointer on the cross slide or compound rest and situate as appeared in Figure 5.2.24. Ensure the pointer is set up to quantify development opposite to the ways. Additionally focus the marker contact vertically on the width of the test bar.
- Bring the marker contact against the side of the test bar close to one end and preload the pointer.
- Move the carriage close to the opposite finish of the test bar and watch the bearing and measure of marker development.
- Adjust the tailstock change screws until the pointer readings are the equivalent at each finish of the test bar. Make changes with the pointer close to the tailstock on the grounds that the headstock place makes a rotate point that will show very lttle marker development.
Direct Mounting Work for Between-Centers Operations
To set up a workpiece for mounting between focuses, each end should initially be bored with acenter drill (mix drill and subset) to acknowledge the 60-degree purposes of the machine places. Focus diling can be performed on the machine utilizing a tailstock mounted throw while holding the work in a toss or collet. It can likewise be performed on a drill press. Focus drills have a little straight pilot followed by bleeding edges that reach out into a shape with a 60-degree included point. It is critical to focus drill to the correct profundity when getting ready work to be mounted between focuses to get quality precision machined electronics components.
After focus boring the workpiece and introducing head-stock and tailstock focuses, total these extra strides to mount the workpiece.
- Mount a drive plate on the shaft. This is an uncommonly planned plate with a drive space or a drive carry. Numerous faceplates can likewise be utilized as drive plates.
- Install a drive canine (or machine canine) on the workpiece (ordinarily with a set screw).
- Clean the two places and the workpiece community openings.
- Place the work with the one community opening close to the machine canine on the headstock place.
- Position the machine canine so it is locked in with the drive opening or drive carry of the drive plate.
- Position the tailstock close to the opposite finish of the work-piece and secure it to the ways.
- Extend the tailstock plume until the middle is safely in the workpiece community gap and lock the plume.
- Make sure that the canine doesn’t tie on the drive plate or the part may not find appropriately on the focuses.
- This article is from http://www.5axismachiningchina.com